Embed a workflow
Important note
To share a direct link to a workflow, embed it within your website or pre-fill the fields of the first form in your workflow, the first level in the workflow must contain at least one form task that is marked as published.
We assume that you have already published the first task.
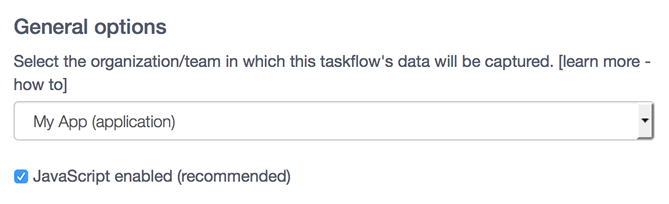
General options
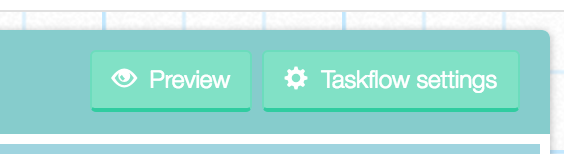
- In the Designer, after you’ve selected your existing workflow, click the “Workflow settings” button in the panel on the left. The Workflow settings will appear.
Select the organization/team in which this workflow’s data will be captured. (Learn more about the structure of your workflow app and where your workflow data is generated and stored.)
If you plan to embed your workflow and javascript might not be available in the user’s context then untick the “Javascript enabled” option. It is recommended however that you keep javascript enabled to ensure an optimal user experience.
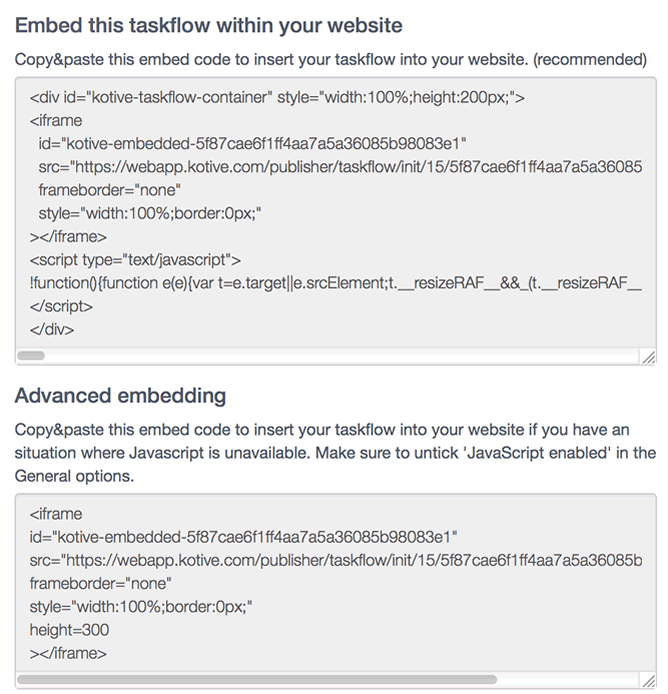
Embedding your workflow within your website
The recommended option of embedding your workflow within your website is to copy the embed code found in the first textarea and paste it within the html source code of your website.
The advanced option is for when javascript might not be available in the user’s context. Untick the “javascript enabled” option under “General options” and copy the embed code found under the advanced embedding option and paste it within the html source code of your website.
Important note
As a Maker you may want to run the workflow for different organizations/teams. You would want the associated workflow data to be uniquely linked with a specific organization/team although they all make use of the same designed workflow. Therefore, the embed code must be unique for each organization/team. If you want to generate new unique embed code, then repeat the above steps and choose a different organization/team.
Using the Wordpress shortcode
Easily embed Kotive Workflows inside your Wordpress sites using the Kotive Workflow Shortcode plugin.
For manual installation you download the plugin, copy the folder “kotive-workflow-shortcode” into the /wp-content/plugins/ folder.
Then go to the Plugins area in the Wordpress Admin and activate. Or else you can search for “Kotive Workflow Shortcode” from the Admin area of your WordPress site in Plugins > Add New.
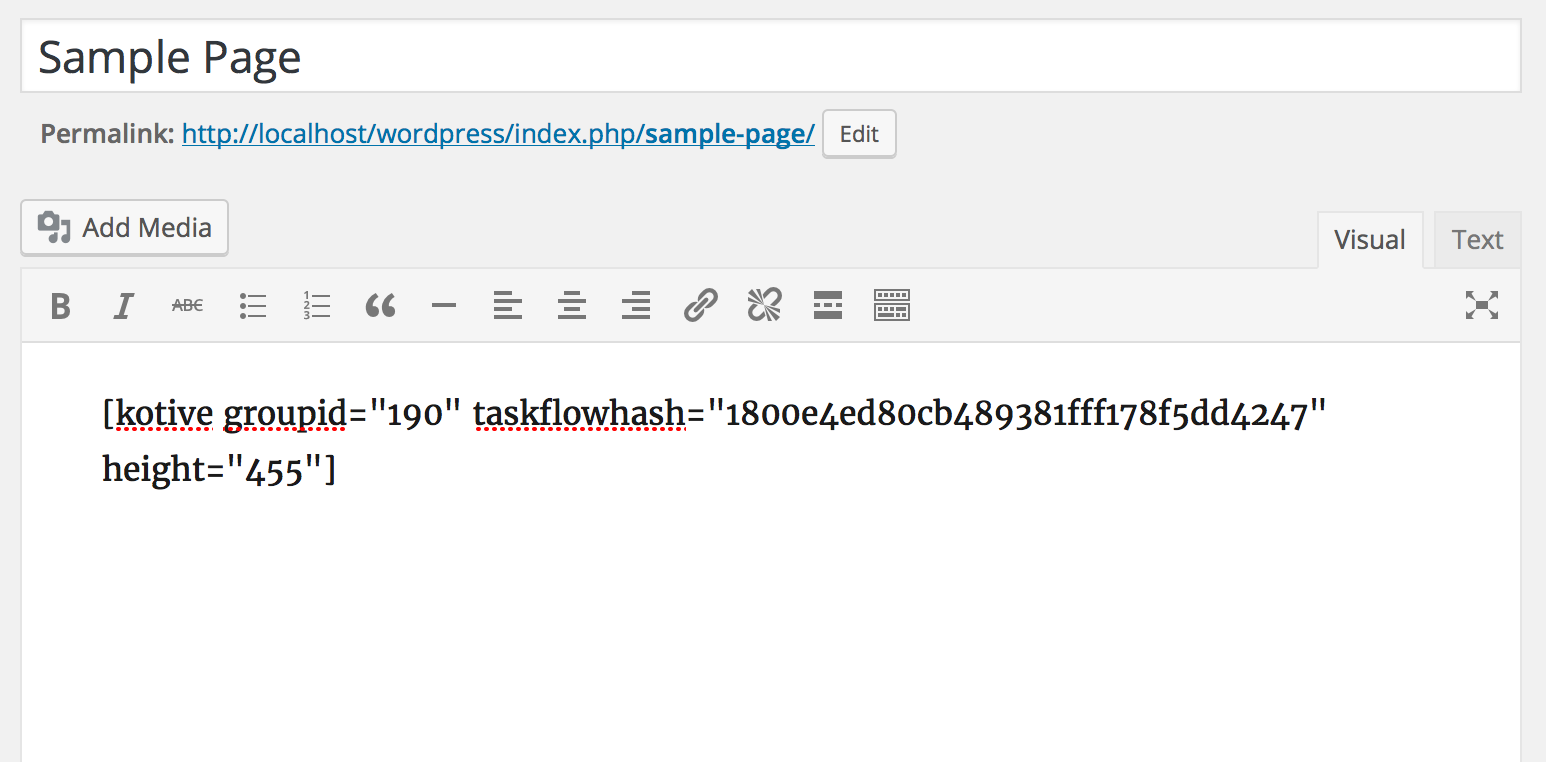
Once installed, go to your workflow in the Workflow Designer. Make sure your first task has been published, then click on the “Workflow Settings” button. Scroll down to “Wordpress shortcode plugin” and copy the shortcode.
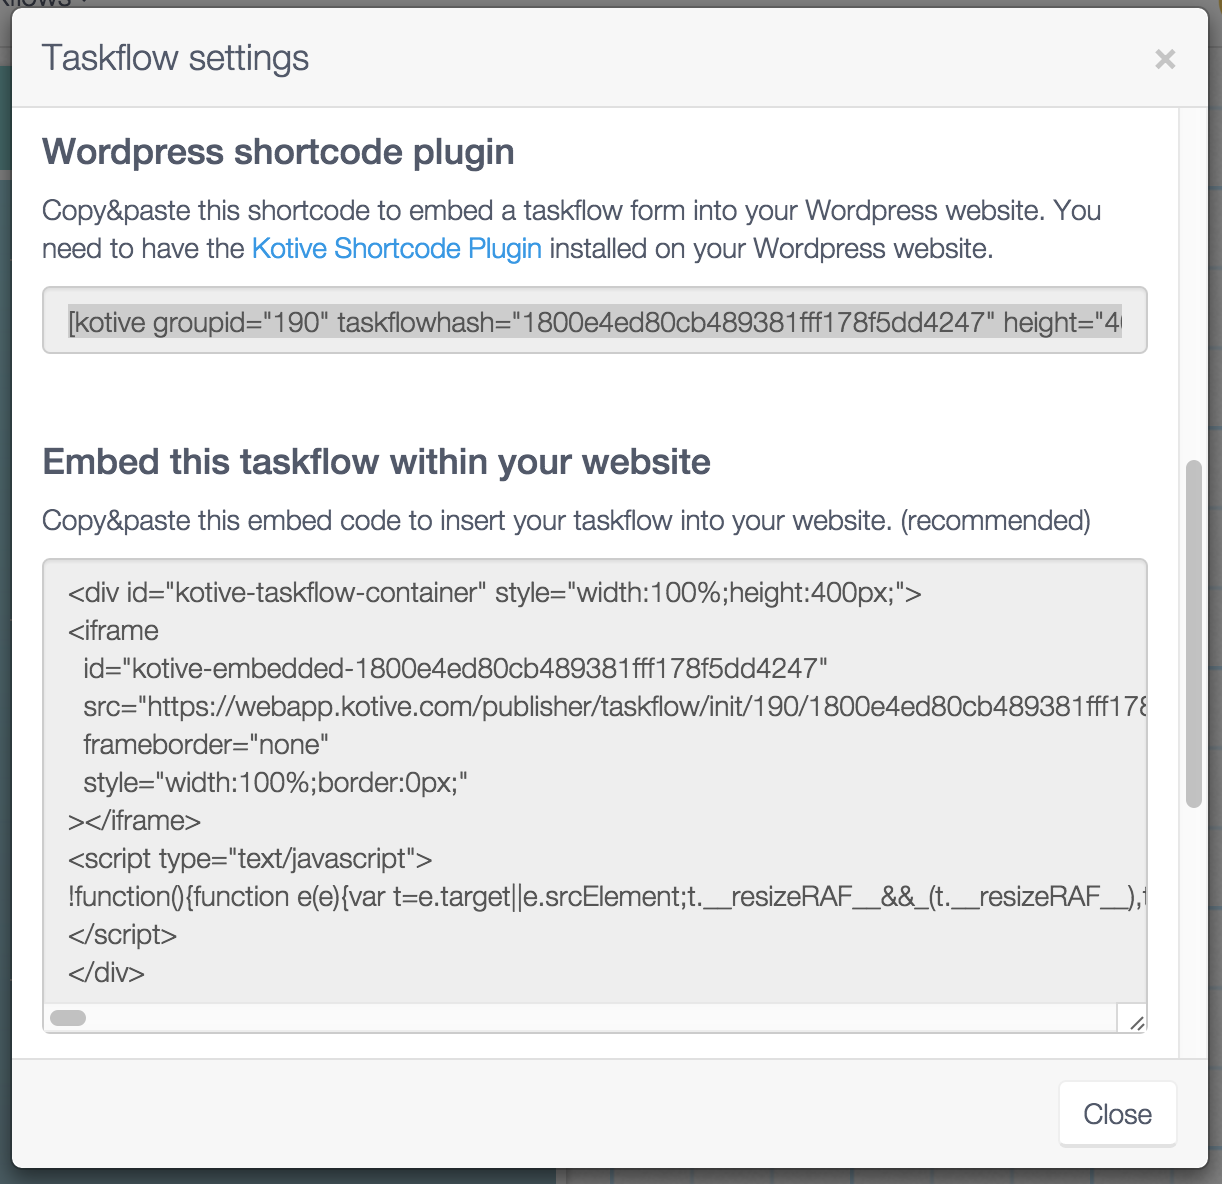
Go to your Wordpress site and paste the shortcode in your page or post. You’re done!
Next: now that you have published a task and embedded the workflow into a website, you can also share a direct link to the workflow with other people.
