Import files into Kotive
The easiest way to import information into Kotive starts by first clicking on the “Download” button in Kotive to export a sample of your existing data. Make sure that you have selected all the columns that you’d be importing data into again. Note: the columns may only be those ones available in the first task/form of the workflow.

After downloading the csv file, import it into Microsoft Excel, Google Sheets or Apple Numbers.
Delete all the rows (except the header row) in your spreadsheet and then start to add the new information that you would like to import into Kotive in separate rows.
When ready, export or save your spreadsheet as a .csv (comma delimited) file.
1. Import your csv into Kotive
- In Kotive, go to the relevant workflow.
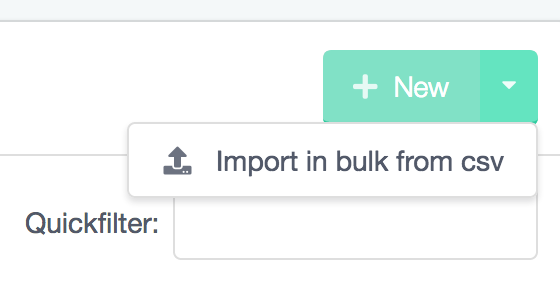
- The New button has a down arrow on its right. Click on the down arrow, then Import in bulk from csv.

2. Choose csv to import
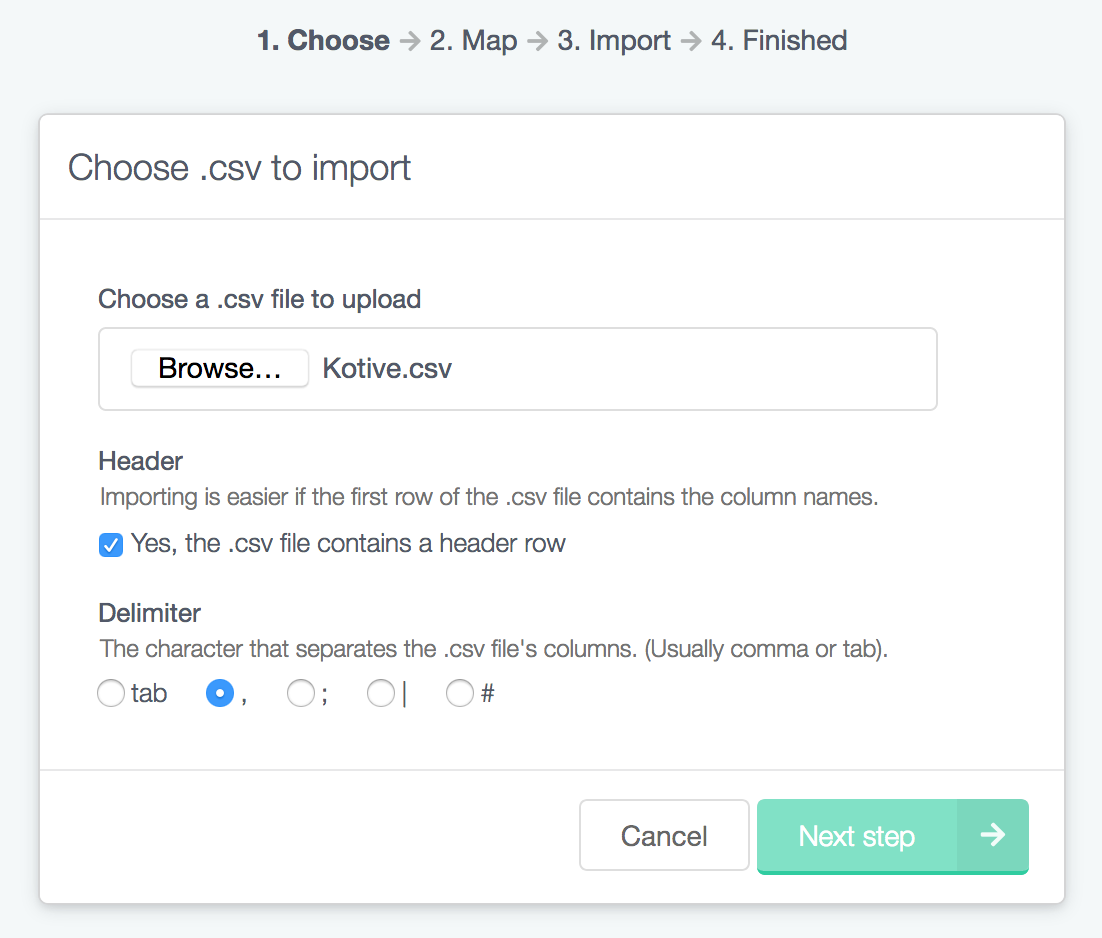
On this screen you choose your .csv file and indicate if it has headers and what its delimiter is.

- Click the Browse button and select your csv file.
- Indicate if the csv file contains a header row (a header row usually contains the names of the columns and is recommended).
- Select the delimiter that separates the .csv file’s columns.
- Click the Next step button.
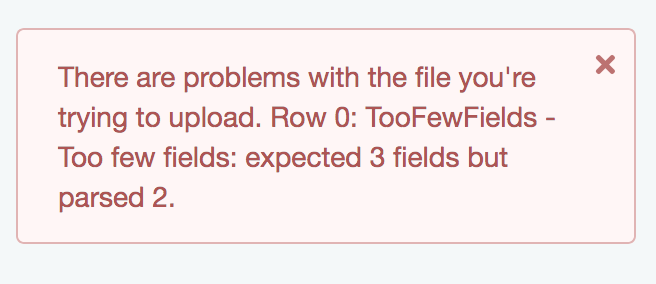
You’ll be warned if there we find any issues with your csv. You’ll need to fix these and repeat the above steps before you can progress to the next step.

3. Map csv columns to fields
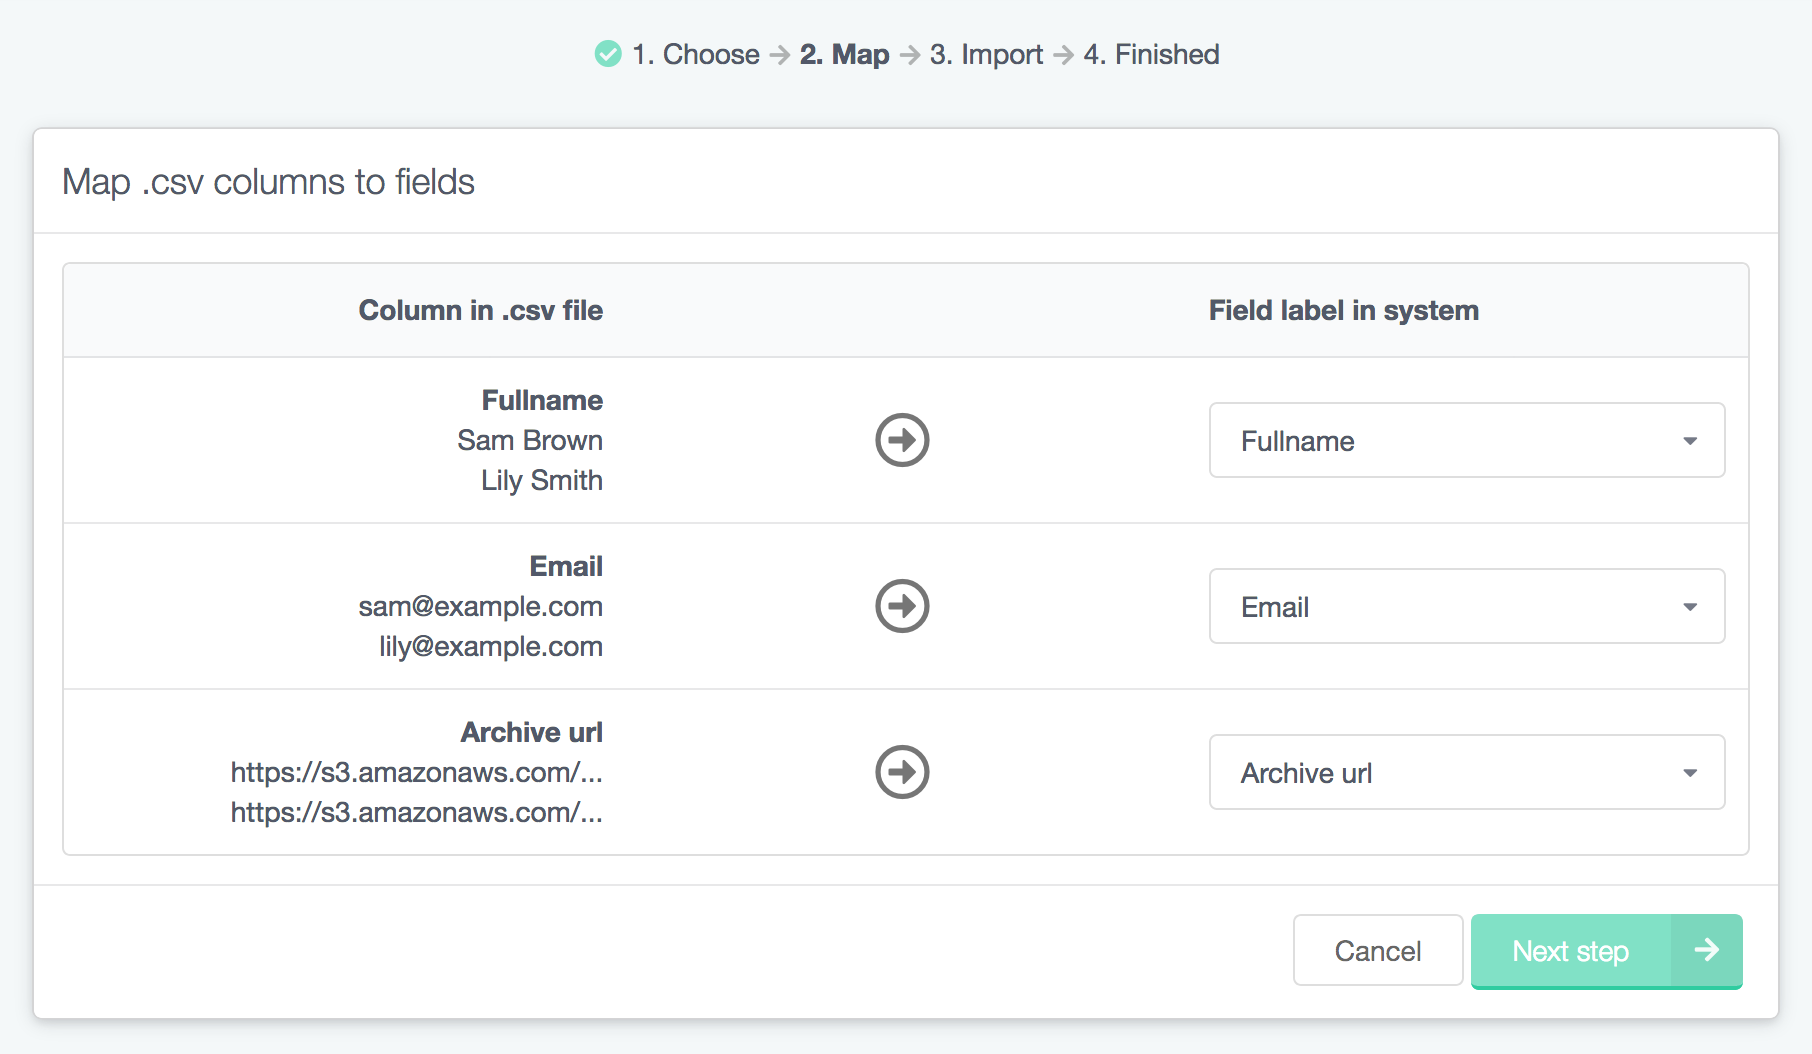
On this screen you see the columns from your csv on the left. If you have a header, its name is shown as well as sample data from the first 2 rows.
On the right you see the available fields in your workflow that you can map data into. The importer will auto-select fields if they match any of the headers from your csv.

- For each column you can change the field in Kotive that the data will be mapped into. If you want to ignore a column, select None (ignore this column).
- When ready to import, click the Next step button to start the import. Note: the data will be imported into your current organisation. Switch to another account if needed.
That’s it! Kotive has queued the data from your csv and the workflows will be created during the next couple of minutes. We try to give you an accurate estimate of how long it might take…
Click the Finish button to return to your workflow. Refresh the workflow after a couple of minutes until you see the correct number of new records.
