Online security quote
A security company has embedded a workflow on a page on their website. (See the real embedded workflow at the bottom of this page.) The “Request a quote” is the first task in the workflow that manages online requests for quotes and it is shown on the webpage.
An anonymous user can complete this task without being logged into the workflow app. This is contrary to other tasks that are only available to logged-in users.
Published tasks
A task that can be completed by anonymous, non-logged-in users is called a “published” task.
The published task (“Request a quote”) has been created in the Designer. Learn how to publish tasks.
When a potential customer visits the webpage where the workflow is embedded, the first task in the “Online security quote” workflow, namely the “Request a quote” form, is shown. It consists of a checklist of security related products and services that the business offers.

The customer ticks the checkboxes, fills in her contact details and submits the request for a quote.
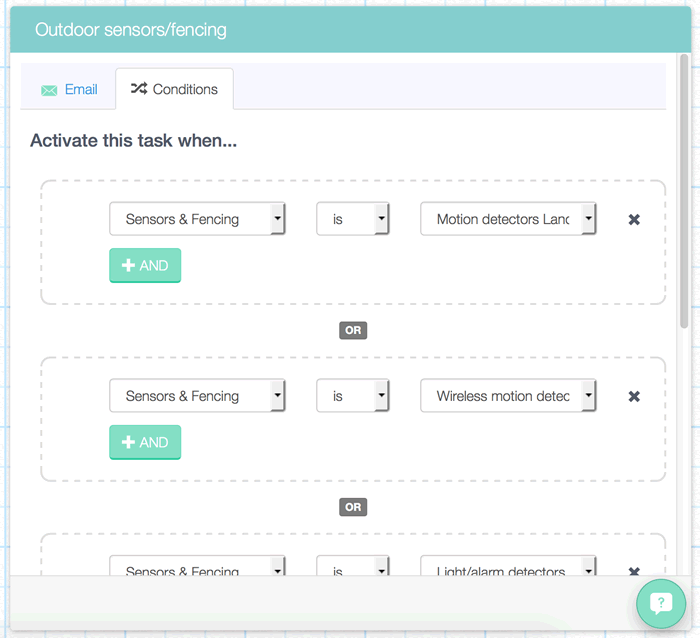
Emails are sent to the different departments depending on the options she has chosen. If any of the checkboxes under “Sensors & fencing” have been ticked, an email containing only the “Sensors & fencing” options are sent to the sensors department. If any of the checkboxes under “Armed response” have been ticked then an email with those options are sent to the armed response department. The same goes for “Weaponry”.
One way of achieving the above flow is to use “OR” conditions that activate the email when at least one of the conditions are met. Each email has its own set of “OR” conditions. It also means that if the customer selected options from “Sensors & fencing” and from “Armed response” then 2 emails will be sent: one to the “Sensors & fencing” department and one to the “Armed response” department.
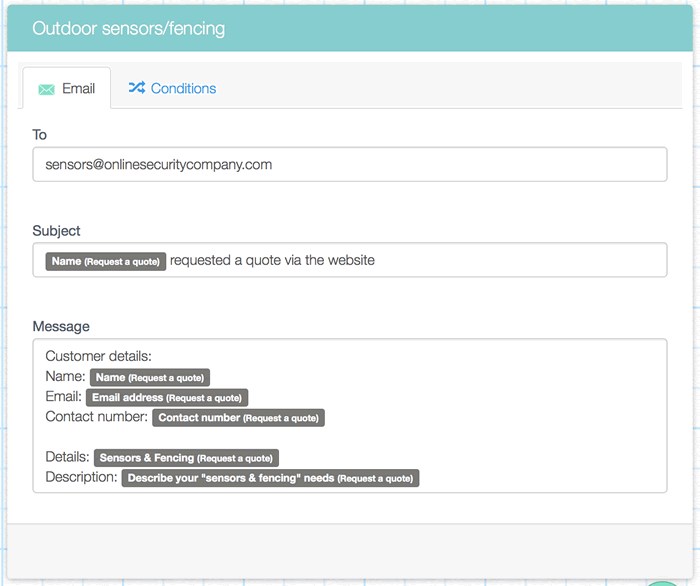
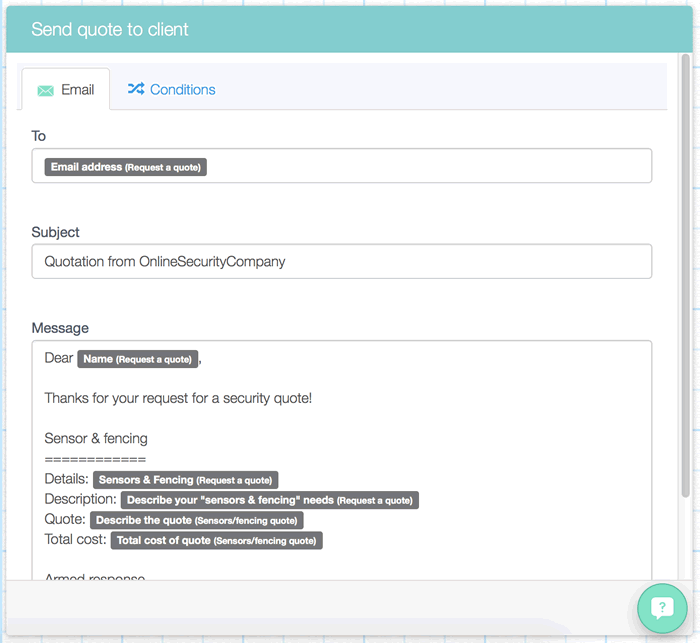
By using dynamic field tags, each email’s content is pulled-in from the “Request a quote” form.
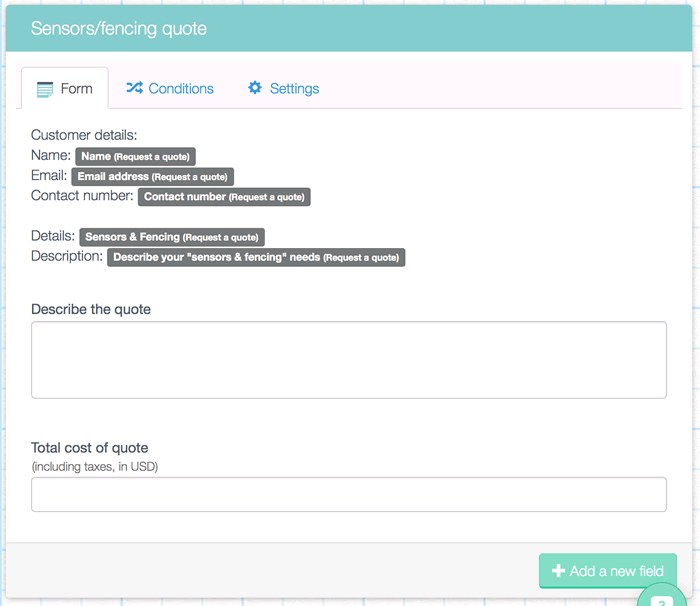
Each department completes their own quote by describing their offered products and services, and providing a total cost.
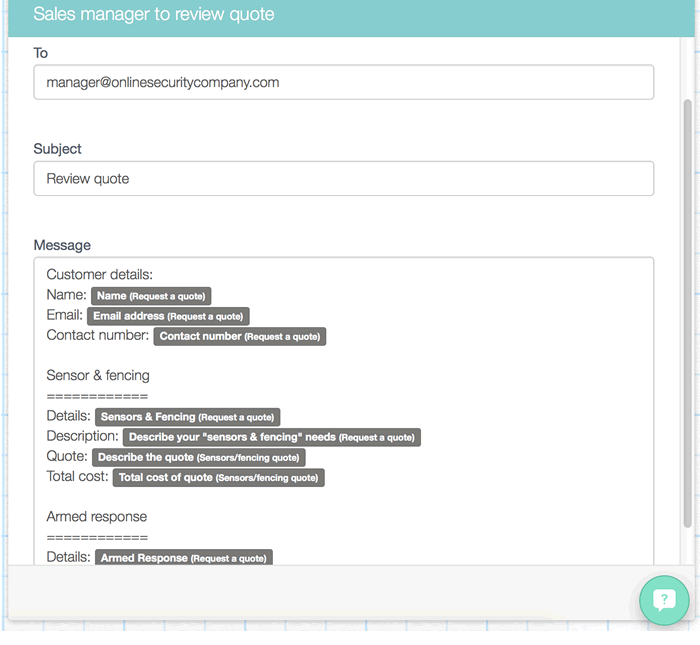
When the final quote is submitted, an email is sent to the sales manager for review. The email contains a summary of all the quotes from the applicable departments, pulled-in using dynamic field tags.
The sales manager then approves or declines the quote and adds any comments.
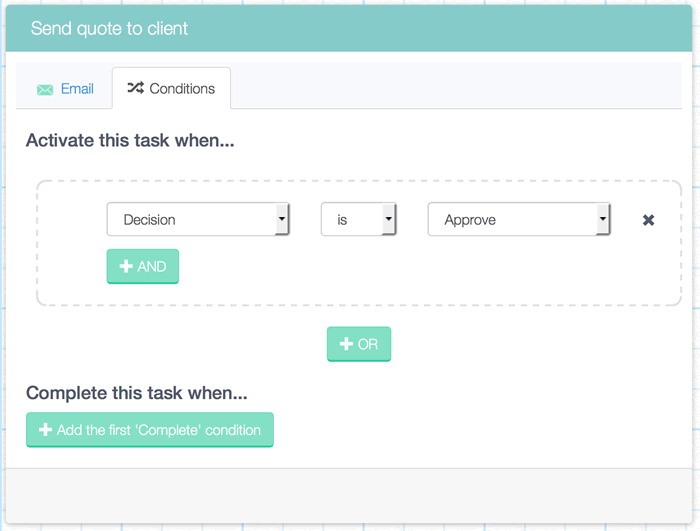
If approved, the quote is emailed to the customer. This condition to send the email has been set in the Designer.
By using dynamic field tags, the email’s content is pulled-in from the different departments’ quotes.
For the customer to approve the quote, she clicks on the link in the email that takes her to a “published” form where she “approves” the quote. Note that the customer is still not required to login. Learn how to publish any task in a workflow.
An email is then sent to the sales manager with the customer’s final decision.
